
Recording and sharing
Find, organize, rename, and delete your recordings
Find voice notes in your Library, search and filter all your recordings, organize collections, edit titles, copy links, download audio, or delete a note.
Last updated October 16, 2026
Use your Library to manage recordings owned by your account. Open your Library and sign in with the account you used to save the notes.
Find a recording
-
Search your Library. Use Search to look for a title, transcript or summary text, a collection name, or the page you recorded on. Search covers every recording in your Library, including ones further down the list. Type at least 2 letters. Matching words are highlighted under each result.
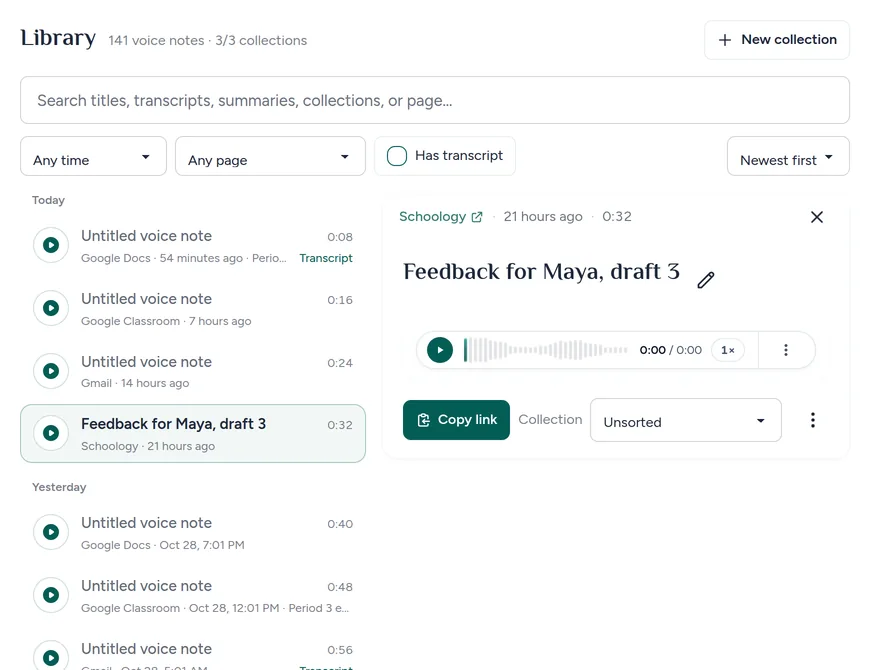
Search and filters apply to your whole Library. Click a voice note to open it beside the list. (Example account.) Narrow the list. Date keeps recent notes (last 7 days, last 30 days, or this school year). Page keeps notes recorded on one site, such as Google Docs. Has transcript keeps notes with a transcript.
Pick a collection. On a computer, choose All, Unsorted, or a collection under Collections in the menu on the left. On a phone, use the Collection filter above the list.
Change Sort if needed. Choose Newest first or Oldest first. While you search, Most relevant puts the best matches first.
Scroll for older notes. More recordings load as you scroll, or click Load more recordings.
Open and play a recording
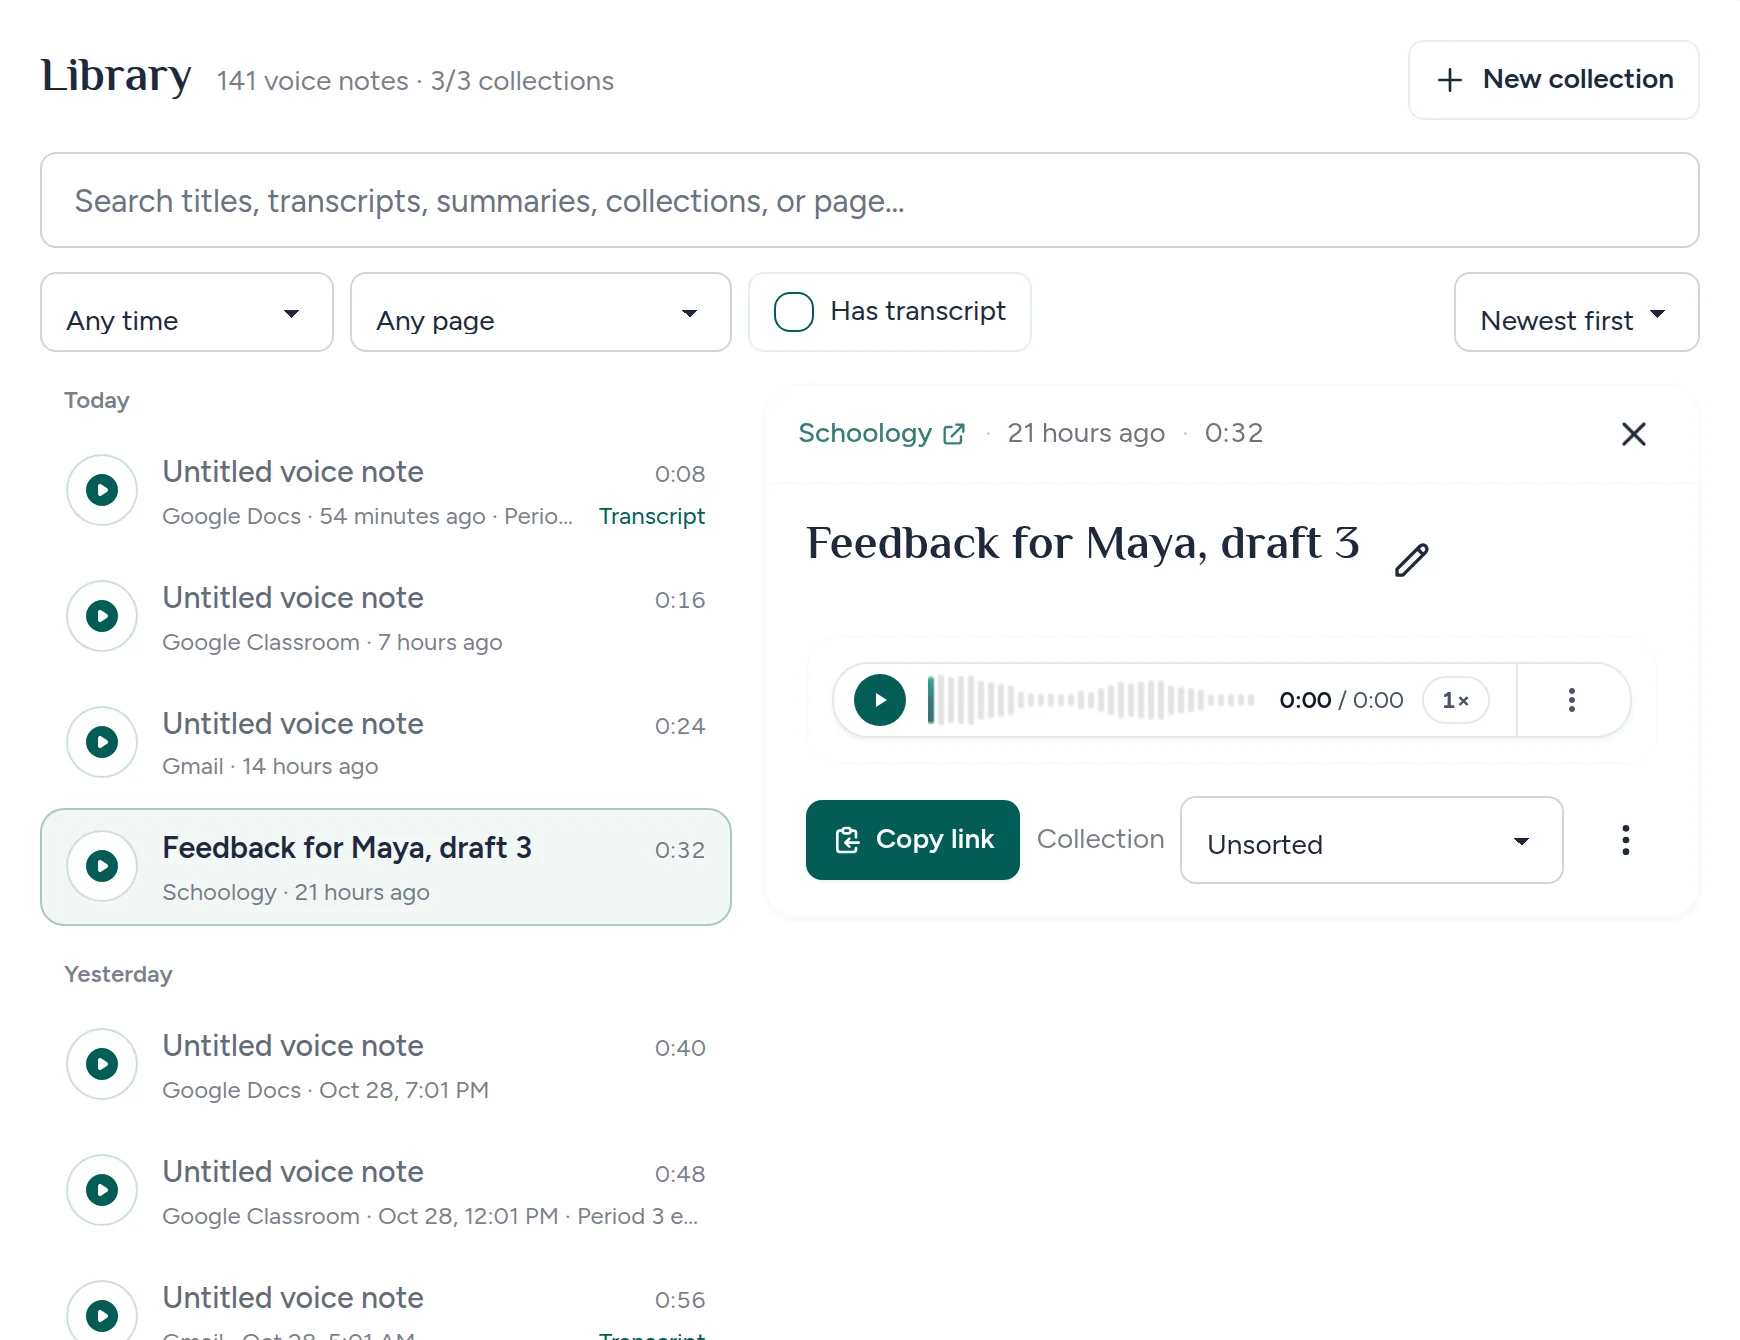
- Click a voice note in the list. It opens beside the list on a computer, or full screen on a phone. Its page, date and length are at the top.
- Play it. Use the play button on its row to start it straight away, or the player in the opened note.
- Read its Summary, Transcript or Translation. Each has its own tab. When your search matched words in the transcript, the note opens on Transcript with those words marked.
- Find a word in a long transcript. Type it in Find in transcript above the text. Use the arrows, or Enter and Shift+Enter, to step through each match.
- Close it. Click Close (×) on a computer, or the back arrow on a phone.
On a computer you can also use the keyboard: / jumps to Search, the up and down arrows move through the list, Enter opens a note, Space plays it, and Escape closes it.
If a transcript did not finish, the opened note says so and offers Try again.
If a recent recording never finished uploading, it is not the same as a saved Library note. Use Recover an unsaved recording before removing the extension or clearing browser storage.
Organize notes into collections
- Click New collection. Enter a Collection name, such as a subject or assignment, then click Create.
- Move a recording. Open it and choose the collection in Move to…. The collection it is in shows at the top of the opened note.
- Return a note to Unsorted if needed. Choose Unsorted in that same selector.
To move or delete several notes at once, tick the box at the start of each row (on a computer it appears when you point at the row). A bar at the bottom shows how many you selected, with Select all, Move to…, Delete and a button to clear the selection. Delete asks once for all of them.
Free accounts can have 3 collections, TAC Plus 10, and TAC Pro or active School & District team seats have no collection cap.
To remove a collection, open the menu on the left (☰ on a phone), click ⋯ beside the collection, choose Delete collection, and confirm Delete. Its recordings move to Unsorted; this does not delete the audio.
Rename a recording
- Open the recording, then click the pencil beside its title. Its label is Edit title.
- Type your title. Use a name that helps you recognize the assignment or topic.
- Click the checkmark to save. Its label is Save title. Changing the title keeps the existing sharing link.
Writing your own title does not require an AI title suggestion. If a suggestion is available, Use suggested title accepts it and Dismiss suggestion removes the suggestion.
Copy a link or open the player page
- Open the recording and click Copy link. Paste it into the message or feedback where you want to share it.
- To open its player page, open the player's More options menu, then Open player page. Check playback there if you want to test the link before sending it.
If copying fails, the opened note shows a Recording link field. Select and copy that link manually, or try Copy link again.
Download a copy of your audio
- Open the recording and find its player. Open the player's More options menu.
- Choose Download. This owner-only menu action opens the audio source in a new tab. Use your browser's save controls if it plays instead of downloading.
- Keep the file somewhere appropriate for its contents. Check Recording limits and retention before relying on Talk & Comment as your only copy.
Delete a recording
-
Open the recording, click More actions (⋮), then Delete this recording. Read the Confirm delete dialog.
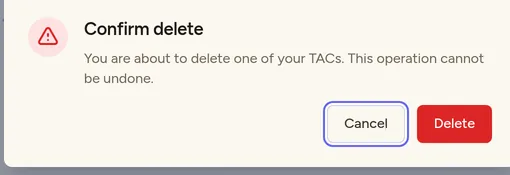
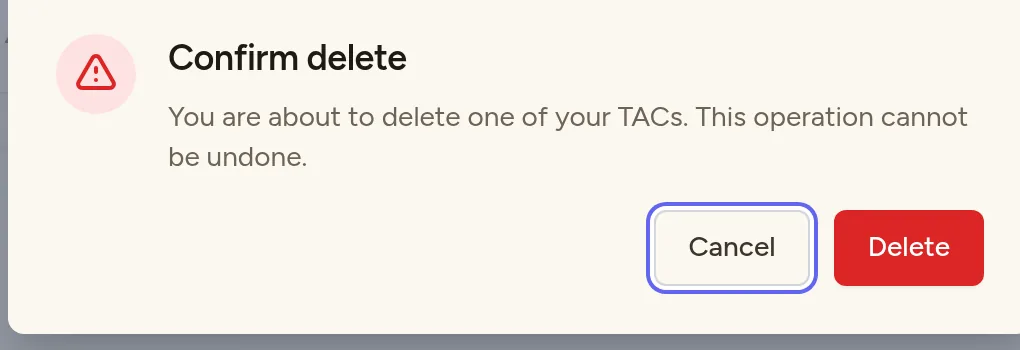
Cancel keeps the recording. Delete removes it for good. Confirm only if you want to remove the recording permanently. Use Delete collection instead if you only want to remove a collection and keep its recordings.
Was this article helpful?
Still stuck? Email support and a real person will get back to you.